Getting started on the journey to build your own DIY electric skateboard combines the thrill of skateboarding with the satisfaction of crafting something uniquely yours. This ultimate guide is designed to guide enthusiasts through the process of creating their very own electric skateboard, tailored to their preferences and needs.
Whether you're a seasoned skateboarder looking to add an electric twist to your rides or a hobbyist eager to dive into a new project, this guide has got you covered. From selecting the right components to assembling them with precision, we'll walk you through every step with detailed instructions and insights. Get ready to transform your skateboarding experience, enhancing your rides with the power of electricity. By the end of this guide, you'll not only have built a DIY Electric Skateboard from scratch but also gained invaluable skills and knowledge in the realm of DIY electric transportation.
Understanding the Basics of Electric Skateboards

Understanding the basics of electric skateboards is essential for both beginners and seasoned enthusiasts looking to dive into the world DIY electric skateboards. At its core, an electric skateboard operates on the same principles as a traditional skateboard, with the significant addition of an electric motor that propels the board forward. This motor is typically powered by a rechargeable battery pack, which is strategically placed on the underside of the board to maintain balance and aesthetics.
The heart of an electric skateboard's operation lies in its electronic speed controller (ESC), which serves as the bridge between the rider's input through a handheld wireless remote and the motor's output. By adjusting the throttle on the remote, riders can control their speed with precision, allowing for smooth acceleration and deceleration. Some advanced models even offer regenerative braking, which conserves energy and extends battery life by converting the kinetic energy generated during braking back into electrical energy.
The motor itself can be either hub motors integrated directly into the wheels or a belt-drive system that connects the motor to the wheels via a belt and pulleys. Hub motors offer a more streamlined look and less maintenance, while belt-drive systems are known for their power and versatility, especially in terms of wheel compatibility and replacement.
In essence, electric skateboards merge the physical engagement of traditional skateboarding with the technological advancements of electric mobility, offering riders a unique blend of freedom, control, and excitement. Whether commuting through city streets or cruising along beachfront paths, understanding these basics empowers riders to make informed choices about building a DIY electric skateboard.
Components of an Electric Skateboard
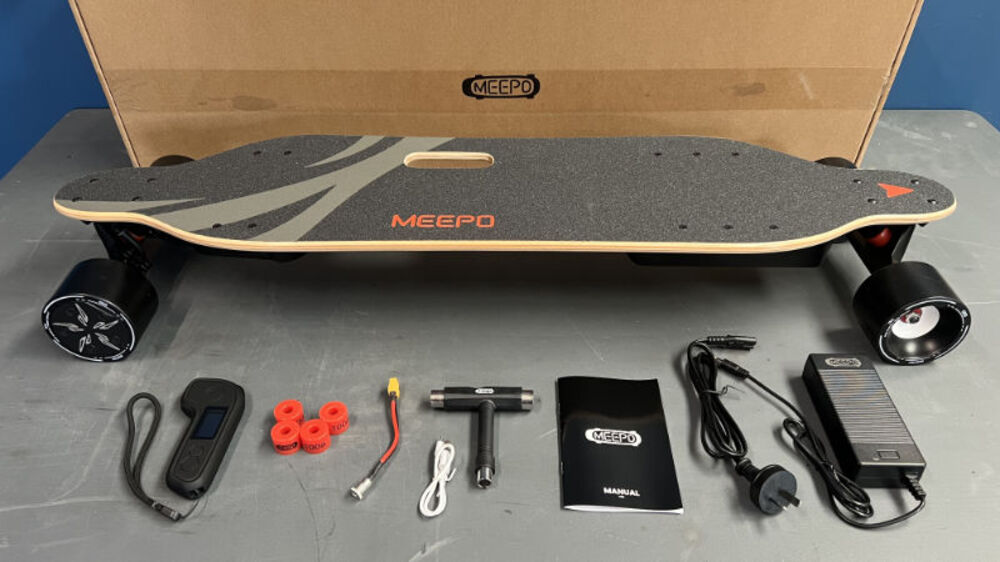
To start with a DIY electric skateboard project, one must understand the multitude of components involved in assembling a functional and efficient board. These components are the building blocks that, when combined, bring the electric skateboard to life.
Deck
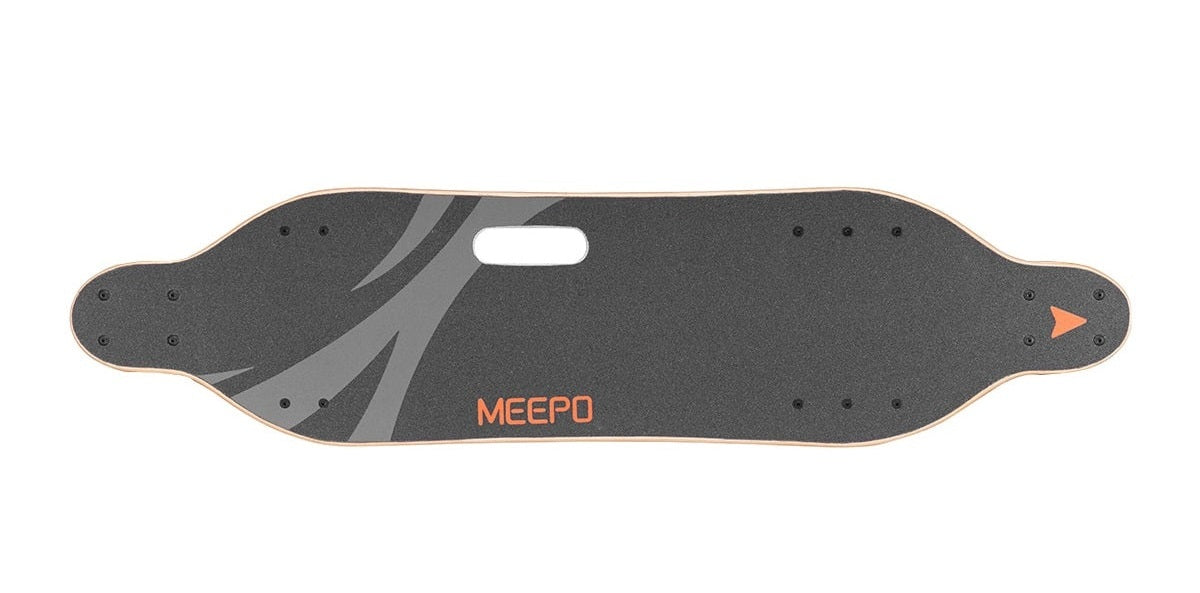
The deck of an electric skateboard is the backbone of the entire setup, providing the physical platform on which all other components are mounted. Traditionally crafted from durable materials such as maple or bamboo, decks come in various shapes and sizes tailored to different riding styles and preferences. The choice of deck material and its construction directly influences the board's overall weight, flexibility, and durability. A well-designed deck not only ensures a comfortable and stable ride but also withstands the rigors of daily use. Innovations in deck technology have introduced composite materials, wood, and carbon fiber, offering lighter, stronger, and more responsive boards to enhance the electric skateboarding experience.
Check our collection of decks here >>
Motor

The motor is the driving force behind an electric skateboard, determining its speed, acceleration, and hill-climbing capability. There are primarily two types of motors used: hub motors, which are integrated into the wheels for a sleeker appearance and less drag, and belt-driven motors, known for their power and versatility. The choice between hub and belt-driven systems affects the board's performance characteristics, including torque and maintenance requirements. High-quality motors ensure efficient power delivery and smooth ride dynamics, making them critical for achieving desired performance levels while ensuring the reliability and longevity of the electric skateboard.
Check our collection of motors here >>
Batteries

Batteries power the electric skateboard, dictating the range and overall performance of the ride. The most common type used is lithium-ion batteries, favored for their high energy density, lightweight, and longevity. The capacity of the battery pack, usually measured in watt-hours (Wh), influences how far the skateboard can travel on a single charge. Advanced battery technology focuses on optimizing charge times, increasing cycle life, and improving safety features to prevent overheating and potential hazards. As the lifeline of the electric skateboard, the battery's quality and capacity are paramount for riders seeking longer rides and consistent performance.
Check our collection of batteries here >>
Electronic Speed Controller (ESC)

The Electronic Speed Controller (ESC) functions as the brain of the electric skateboard, managing the power flow from the battery to the motor based on the rider's input. It translates the rider's commands from the remote control into precise motor output, allowing for smooth acceleration, braking, and speed regulation. The ESC's sophistication determines the smoothness of the ride experience, with advanced models offering customizable settings, regenerative braking, and enhanced efficiency. A high-quality ESC ensures the electric skateboard operates seamlessly, providing riders with intuitive control and responsiveness under various riding conditions.
Check our collection of ESCs here >>
Remote Control

The remote controller is the rider's interface with the electric skateboard, allowing for the adjustment of speed and activation of brakes. Typically wireless, remotes vary in design and functionality, with features ranging from basic throttle and brake controls to advanced settings like speed modes and battery indicators. The ergonomics and reliability of the remote control are crucial for safe and enjoyable riding experiences, ensuring riders can confidently maneuver their boards. Innovations in remote technology include smartphone integration, offering additional functionalities such as route tracking, board diagnostics, and customization options.
Check our collection of remotes here >>
Wheels

Wheels are critical for the electric skateboard's traction, handling, and ride comfort. Made from high-grade urethane, wheels come in various sizes and hardness levels, affecting the board's grip, speed, and ability to absorb vibrations from uneven surfaces. Larger wheels offer smoother rides over rough terrain, while smaller, harder wheels provide higher speeds and agility. The quality of the wheels impacts the electric skateboard's performance, particularly in terms of acceleration, braking, and durability. Riders often choose wheels based on their riding style, terrain, and personal preference for a customized riding experience.
Check our collection of wheels here >>
Trucks

Trucks connect the wheels to the deck and play a pivotal role in the electric skateboard's steering and stability. Comprising a baseplate, hanger, bushings, and kingpin, trucks allow riders to carve and turn by tilting the board. The design and construction of trucks influence the board's handling characteristics, with variations in width, geometry, and bushing setup catering to different riding styles and preferences. High-quality trucks offer precise control, responsiveness, and durability, enhancing the overall riding experience. Upgrading or adjusting trucks can significantly alter the electric skateboard's performance, allowing riders to fine-tune their boards for optimal handling and stability.
Check our collection of trucks here >>
Tools and Materials Needed
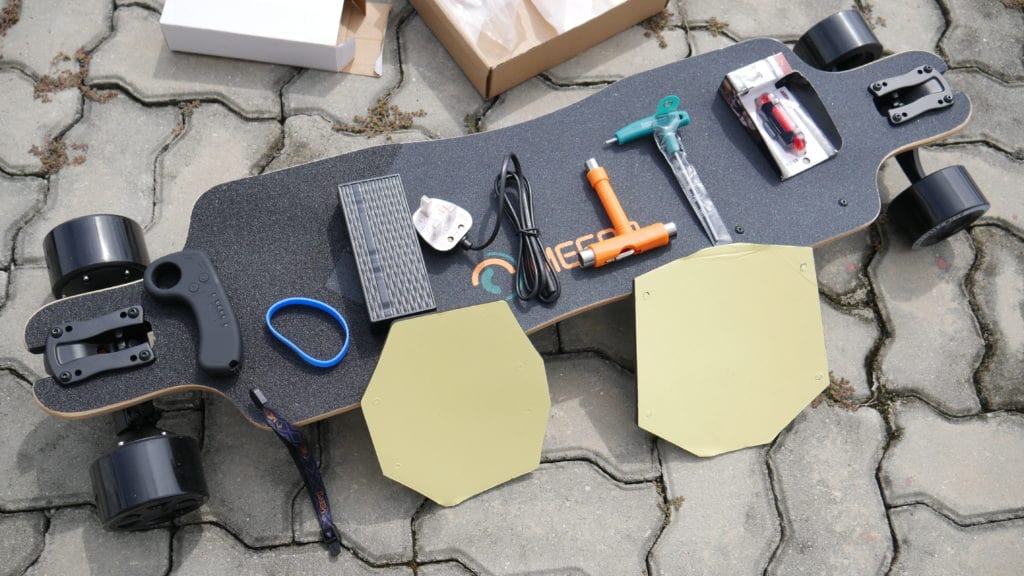
To Start building a DIY electric skateboard requires gathering a comprehensive set of tools and materials to ensure a seamless assembly process and a high-quality final product. To start, essential tools include a screwdriver set for assembling parts, a soldering iron for electrical connections, a multimeter for testing circuits, and a wrench set for securing components tightly. Safety gear, such as gloves and eye protection, is crucial to protect yourself during the build.
For materials, besides the main components like the deck, motor, batteries, ESC, remote control, wheels, and trucks, you will need electrical wires and connectors to link the electronic parts. Heat shrink tubing is essential for insulating those connections, preventing short circuits. To customize your skateboard, consider grip tape for better foot traction, and bearings for smoother wheel rotation. Additionally, custom decals or paint can personalize your board, making it uniquely yours. Having all these tools and materials prepared beforehand not only facilitates a smoother building process but also enhances the enjoyment and satisfaction of creating your own electric skateboard tailored to your preferences and style.
Building the DIY Electric Skateboard

The process itself requires a clear understanding of the components involved and a systematic approach to assembly. To streamline the build, it's practical to divide the process into two main phases: Assembling the Deck and Electronics and Mounting the Motor and Battery. The first phase focuses on setting up the structural and control elements of the skateboard, while the second phase involves installing the power components that will bring the skateboard to life. By breaking down the process into these key stages, builders can tackle the project with clarity and precision, ensuring a successful and satisfying build.
Assembling the Deck and Electronics
Assembling the Deck and Electronics carefully lays the groundwork for your DIY electric skateboard, focusing on setting up the control and interface components.
Here's how to approach it:
- Deck Preparation: Start with your chosen deck, ensuring it's clean and ready for component attachment. This is your foundation, so its condition and suitability are paramount.
- Attaching Trucks: Secure the trucks to the underside of the deck. Position them accurately at the board's front and rear, using a screwdriver and bolts. Proper alignment is crucial for balance and maneuverability.
- Electronic Speed Controller (ESC) Installation: Mount the ESC onto the deck, selecting a spot that allows for optimal weight distribution and easy access for wiring. Use mounting tape or brackets as required by your ESC model for a firm attachment.
- Remote Control Setup: It's essential to pair your remote control with the ESC at this stage. Follow the manufacturer's guidelines for pairing, ensuring your control system is responsive and correctly configured.
- Wiring and Electronics Check: Begin by laying out the electrical wires to connect the ESC to the power switch and other control elements. Ensure all connections are secure and insulated to prevent any electrical mishaps. Once everything is connected, perform a preliminary test by powering on the ESC and using the remote to check for basic functionality and responsiveness.
This initial assembly phase is critical, requiring attention to detail to ensure the electronics are correctly set up and functioning. This setup forms the operational heart of your skateboard, paving the way for the subsequent phase of mounting the motor and battery.
Mounting the Motor and Battery
Mounting the Motor and Battery is a pivotal phase in building your DIY electric skateboard, where you'll bring power and propulsion to your creation. This phase requires precision and careful handling of components to ensure your board's performance and safety.
Here's a step-by-step guide:
- Mount the Motor: Begin by attaching the motor to the rear truck. If you're using a belt-driven system, ensure the motor mount is securely fastened to the truck, and the motor alignment allows for optimal belt tension. For hub motors, the process involves replacing the rear wheels with the motorized hubs and securing them in place as per the manufacturer's instructions.
- Install the Battery: Securely mount the battery pack to the deck, considering the weight distribution and ease of access. Use a battery enclosure if available, to protect the batteries from impacts and the elements. Ensure the enclosure or mounting method does not impede battery ventilation.
- Connect Motor to ESC: With the motor in place, connect it to the Electronic Speed Controller (ESC) using the appropriate wires and connectors. Ensure a secure and clean connection, as this will significantly affect your skateboard's performance.
- Wire the Battery: Connect the battery pack to the ESC, carefully following the wiring diagram provided by your ESC manufacturer. This step is crucial for providing power to your skateboard. Double-check all connections for security and proper insulation to prevent short circuits.
- Final Testing: With the motor and battery now mounted and connected, it's time for a comprehensive test. Power on your skateboard and use the remote control to test the motor's response and the battery's power output. Check for smooth acceleration, braking, and the functionality of any additional features your ESC may offer.
This phase is where your electric skateboard truly comes to life, transforming it from a static assembly of parts into a dynamic, powered vehicle ready for the streets. Ensuring the motor and battery are correctly installed and functioning in harmony is key to a successful DIY electric skateboard project.
Finishing Touches and Customizations

After assembling the core components of your DIY electric skateboard, the final stage involves Finishing Touches and Customizations, blending personal aesthetics with performance enhancements. Aesthetic Enhancements include applying custom grip tape for a unique look while ensuring secure footing, and personalizing the deck with paint or decals to reflect individual style. Adding LED lights not only customizes your board's appearance for night rides but also enhances safety.
On the performance front, performance upgrades like switching to high-quality bearings can significantly smooth out your ride. Opting for lighter or more responsive trucks can improve maneuverability and response, while upgraded wheels tailored to your riding environment can offer better traction and speed. These custom touches not only make your electric skateboard stand out visually but also fine-tune its ride characteristics to suit your preferences, creating a truly personalized skateboarding experience.
Conclusion
Starting the project of making your own electric skateboard is an exciting mix of custom design and hands-on work. This ultimate guide has walked you through everything from the basics to putting together each part. But building your skateboard isn’t just about putting pieces together; it’s also about making it yours with special touches and improvements.
This guide has given you the steps and knowledge to build an electric skateboard from scratch and make it truly your own. As you look at what you've created, remember, this skateboard isn’t just a way to get around; it’s a reflection of your creativity and hard work. Whether you're zooming through city streets or coasting by the beach, your DIY electric skateboard is all set to take your skateboarding experience to the next level.

